
Photographs show individual rooms well. A walkthrough answers a different question: how do those rooms connect?
The recording does not need cinematic movement or music. It needs a clear route, steady pacing, and an honest view of the property.
Choose the route before you record
Walk the route once without a camera.
- Start outside or at the main entry.
- Follow the path a visitor would naturally take.
- Show each room connection before close details.
- Include outdoor areas and important access points.
- Finish in a place that gives the tour a clear end.
Write a short shot list. This prevents missed rooms and repeated turns.
Clear the frame, not the evidence
Remove private documents, personal photographs, and trip hazards. Check mirrors and windows for reflections.
Protect account numbers, faces, vehicle plates, keys, and security-system details. Move private material before you start.
Do not use framing or editing to hide a visible defect. The walkthrough should match the listing and required disclosures.
Keep the camera quiet
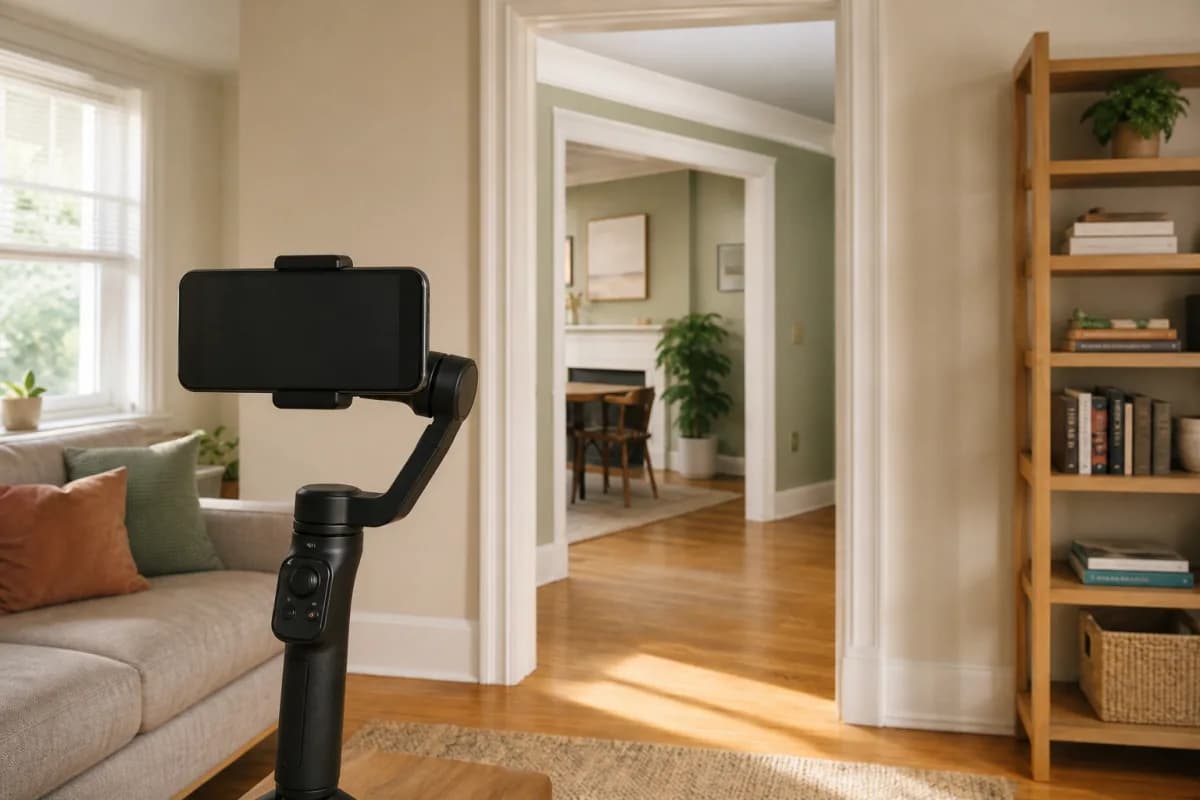
A recent smartphone is usually sufficient when it produces a clear image. A gimbal can help, but it is not required.
Hold the camera near chest height. Walk slowly. Pause before a doorway, then show the next room before you enter it.
Use horizontal video for most listing pages. Record vertically only when the destination requires that format.
Narrate what the viewer can verify
Name the room, explain its connection, and add one useful fact.
“The kitchen opens to the dining area. East-facing windows bring morning light into this room.”
Avoid claims about value, safety, schools, development, or buyer suitability without an authorized current source.
Silence is also useful. A short pause can show ambient sound better than continuous narration.
Watch the full recording before publication
- Confirm that the route covers every advertised space.
- Check directions, dates, measurements, and improvement claims.
- Look for private information in each frame.
- Add accurate captions for spoken information.
- Use licensed audio or no music.
- Test playback on a phone and a computer.
Keep the original file. Record the publication date and each later edit.
After approval, the transcript can support room notes and social captions. Check each new asset against the original recording.